.jpg)
Start by making the Pre-Ferment.
This is also called a Poolish in breadmaking and is common,
Basically it is half water and half flour and a bit of yeast,
or if your doing sourdough an equal amount of the starter.
in this case we use equal amounts in cups.
Blend all the rye flour, water and yeast and let this mix
sit on a warm counter or in the oven with just the light on.
It will double in size.
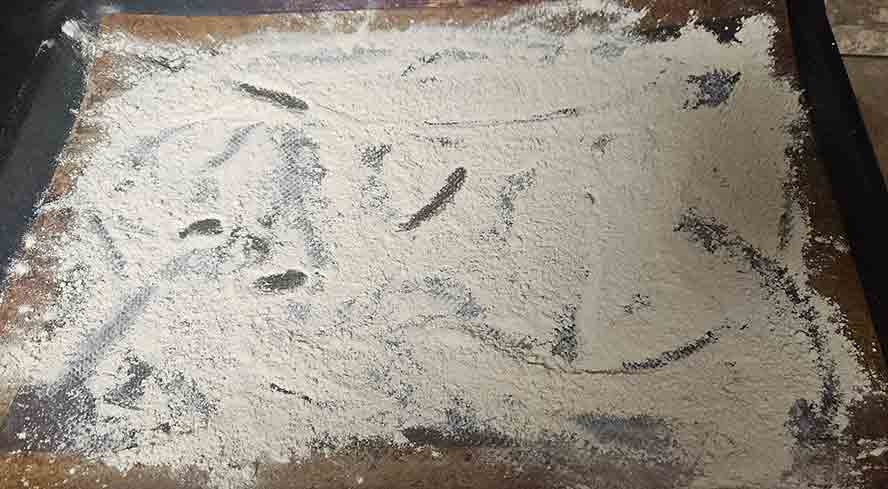
While the Pre-Ferment is working toast the flour in the oven.
Take a quarter of a cup of the medium rye flour, and toast it in the oven at 350 degrees for 15-20 minutes until you
can smell the toast and it is slightly brown
.jpg)
Here is the difference between the toasted rye (in the cup) with the regular medium rye flour.
.jpg)
This is the Pre-Ferment ready to use. You can see the bubbles and airy texture.
Here is the toasted rye flour next to the untoasted, to show how it is slightly browned.
.jpg)
Now lets put the final dough together.
Measure the dry and liquid ingredients out.
.jpg)
Add the ingredients including the pre-ferment together except the salt and blend into a shaggy dough.
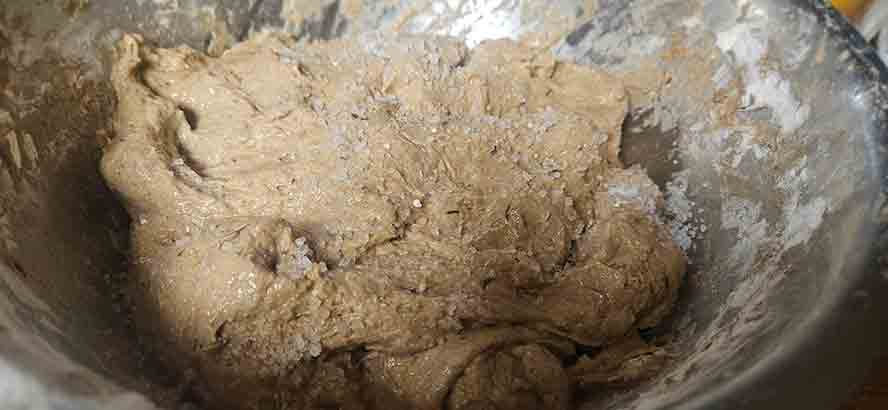
Here is our shaggy dough
Sprinkle the salt over the dough and let it sit.
The salt tends to retard the gluten development so I let it sit 20 minutes or so then work it in.
Do a few stretch and folds, lifting up an edge of the dough , stretching it and then
fold it on top. Do about 8 of these, turning the bowl 90 degrees each time.
Wait about 30 minutes or so and do another set of stretch and folds.
This is a rather sticky dough so I keep it in the bowl. but you should feel
some gluten starting to form when you pull the dough up.
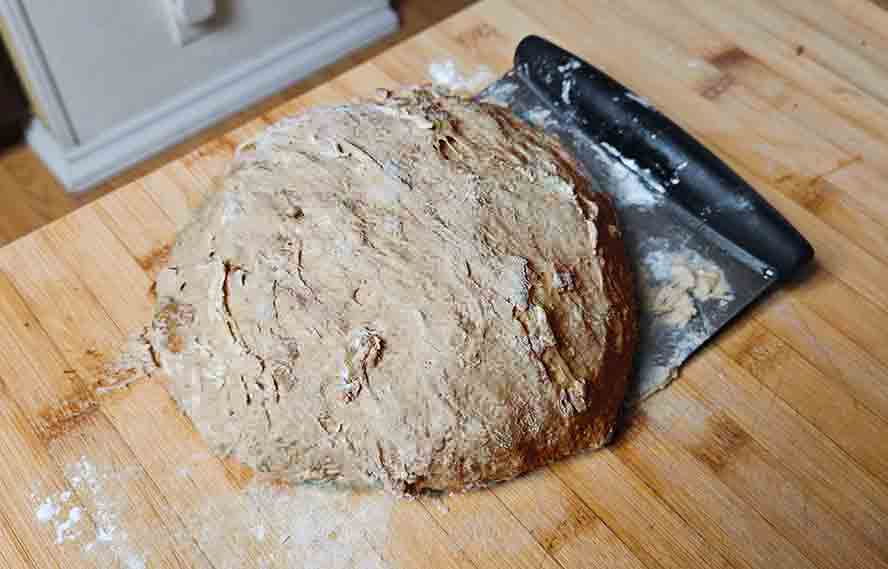
Now we can shape the loaf.
I love a bench scraper for this. You push your dough around the board , tucking the edges in
and forming sort of "skin" around the dough that holds it's shape better.
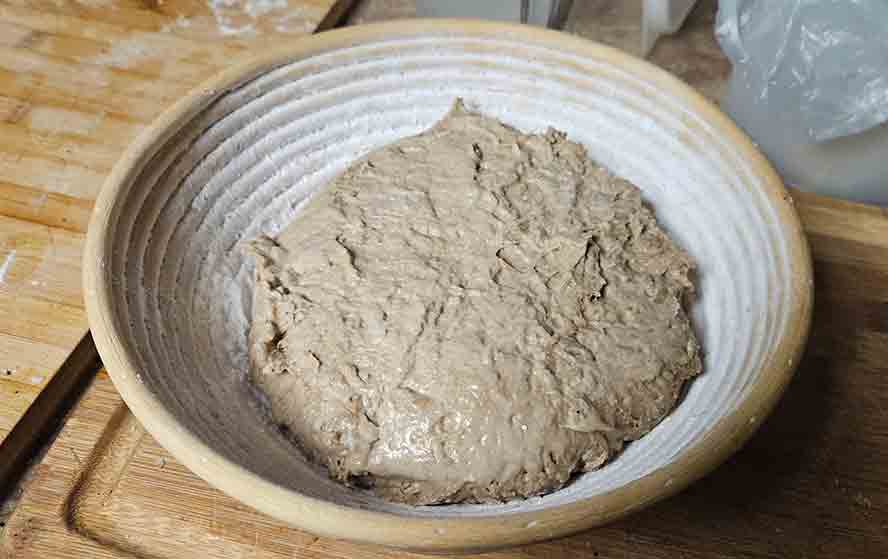
I let it rise in a Brotform, a stainless bowl or a bread pan even.
It will rise a bit but not necessarily double.
This may take an hour.
You can tell when it has proofed enough, when you poke the dough
and the dough springs back slowly. If it doesn't rise back you have over proofed it.
Which doesn't mean it is ruined, just won't be quite as pretty.
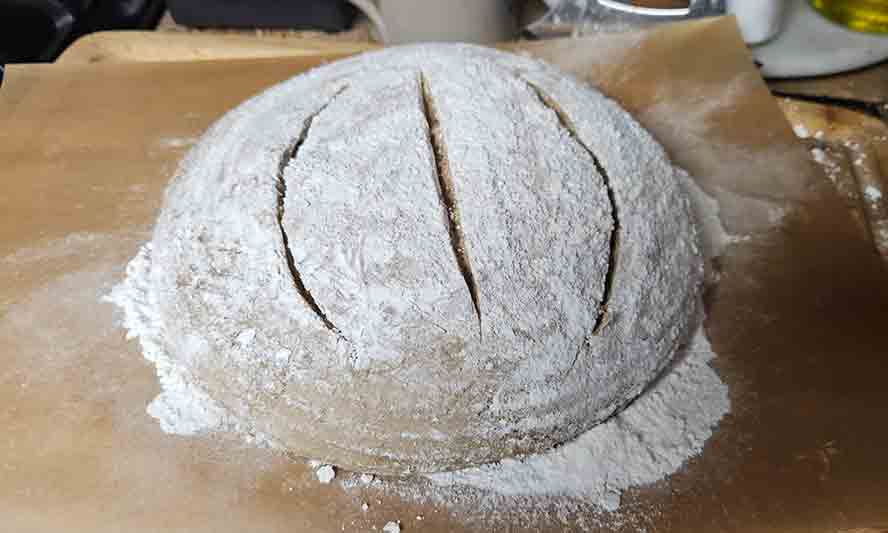
I make 3 slits with a razor blade or sharp knife,
which is kind of traditional, many just make 1 slit. This alows the steam to
escape.
I like to bake it in a Dutch oven, so I turn it over onto parchment paper
which make it easy to lift into the pan.
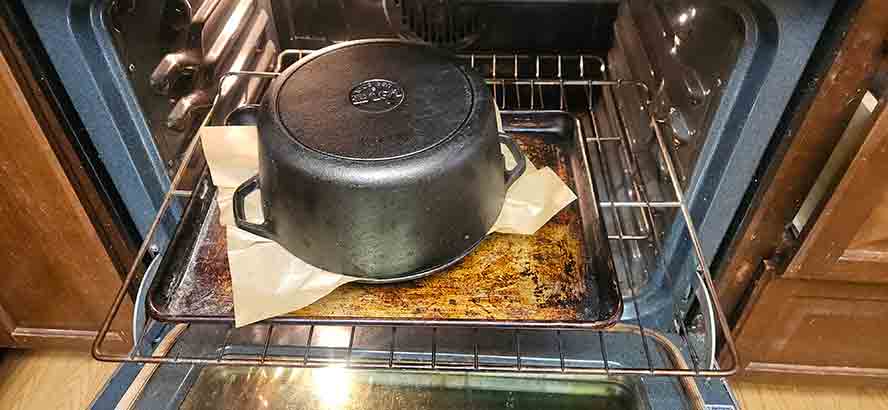
When I say I bake it in a Dutch Oven, I have recently bake it in a skillet
or on the lid, and but the base on top.
This creates a steam chamber so you get better oven spring
I also throw a cup of ice onto the sheet pan to create steam for the first 15 minutes.
Bake for 20 minutes at 475 degrees.
Then uncover and bake for another 30 - 45 min at 375 degrees.
I like to measure the temperature of the bread to tell if it is done.
it shoud be between 205 to 215 degrees F.
You can tell by looks somewhat. It should spring back when you lightly press in
Tap the bottom crust and if you get hollow sound like your hitting a drum
It is done. If it is dense and doesn't resonate then it is probably still sticky inside.
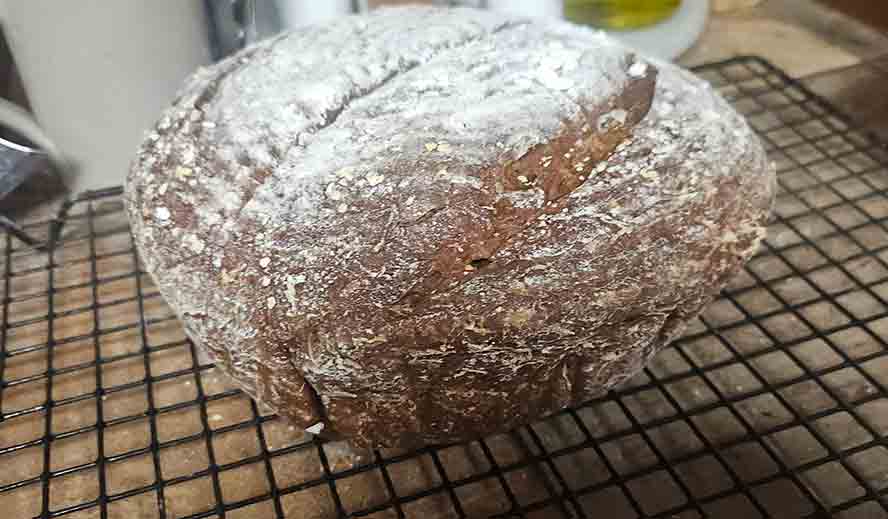
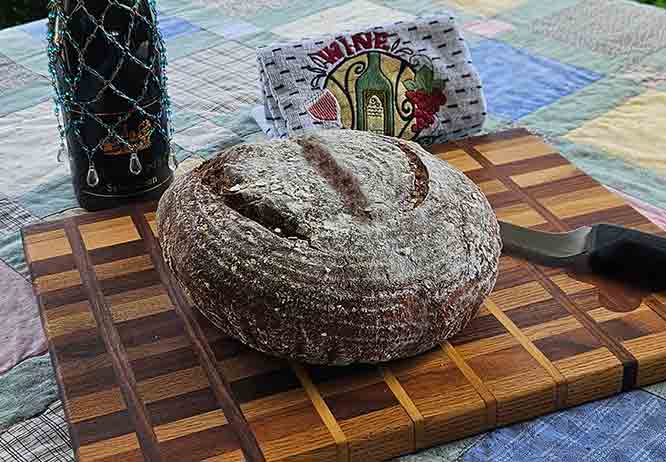
Here is a beautiful loaf.
Let it sit for at least 8 hours.
This is the hardest step,
to wait, when it looks sooo good,
and smells wonderful out of the oven.
The moisure inside
needs to redistribute, and settle.
If you slice it before it can be slightly wet and "gummy".

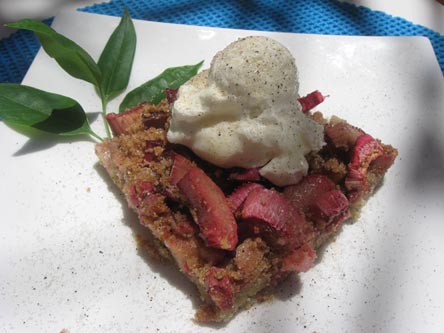
Here is the finished slice. Nice and light, and airy,
with a great texture that is not too dense, great for sandwiches
or toast.
|